So you decided to take on a project for DIY house painting? Great for you! It’s fun, and it’s more cost-efficient.
Here are ten DIY painting tips that will help you maximize time, effort and money to achieve the best results.
Reconsider if you thought wall painting is nothing more than dipping your roller into the paint and slathering the walls. Although house painting is by no means a complex task, the following tips and tricks should be kept in mind to ensure quick and professional results you can be proud of. if you get overwhelmed, for a professional opinion, contact us or check out our gallery and before and after paint projects at www.GoldStandardPainting.com
The 10 DIY painting tips are:
1. Prep your wall
Good painting starts with good preparation of the surface. This should be the first of the ten DIY painting tips.
Don’t just pick up the brush yet! Start by filling, sanding and cleaning holes and cracks in the wall. Certainly, it’s an irritating step, but it’s the most important part on your road to painting smoothly. To ensure good paint-to-wall adherence and beautiful long-lasting results, you need to do this.
2. Mask it
Keep paint-free walls, light switches, door frames, and other areas by using the masking tape of painters to create boundaries. Once the paint is fully dry, this tape can be quickly removed at least 24 hours after the application. Cut in a thin line between the tape and the wall and gently tug on the tape at a 45° angle by using a utility knife.
3. Protect your floors and furniture
Make sure that your floor and furniture are protected against paint drips and splashes before you use that roller. Use newspapers, plastic sheets or canvas that can be stored and reused over the years. This is just as important as the rest of the DIY painting tips.
4. Invest in a roller extension rod
Store the ladder in the shed and use an extender rod. These come in different lengths, so make sure you have one that can touch your ceiling. An extension rod, without overlapping, will help you achieve continuous paint coverage from top to bottom.
5. Cover up that paint tray
Reduce cleaning time by lining your paint tray before using it with multiple layers of tinfoil. This is a neat trick to use with multiple colored paints and avoids unintentional mixing. Just pour the rest back into the can when you’re done with one color and reline the tray. Your floor or any surface will benefit from this tip number five.
6. Mix small tins of the same color in one large container
The shade may come out slightly different for each when you buy several tins of the same color.
You may end up with small but noticeable differences if you start a new tin halfway through painting. By combining the paints in one large container, you can avoid this problem.
7. Keep that tin rim clean
For convenient closing and opening, keep the surface of your paint tin clean. It’s really simple:
use a hammer and a nail to poke holes in the top section of the rim after opening the tin. Thus, seeping paint, instead of accumulating around the rim, will now drip in.
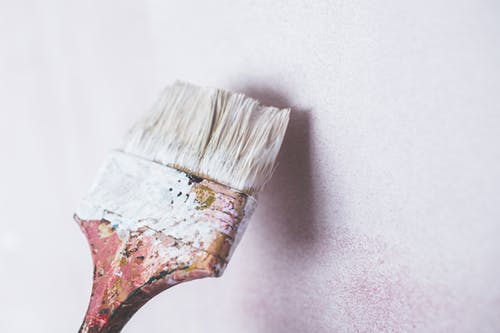
8. Start painting
Use a brush around the corners and door frames to start with. Amateur painters often use a roller to paint the rest of the wall, but this almost guarantees visible shifts inconsistency. Use a brush on the edges to ensure smooth and seamless results and follow immediately before the brushed-on paint dries with an end-roller. Make sure the primary roller is the same diameter. Drive the roller as close as you can to the second doorframe or wall when you’re finished.
9. Paint without a trace
Now comes your painting project’s most important part. You need to learn how to properly use a roller to prevent overlap (stripes created by irregular paint coats). Start at one corner and roll to the other end of the wall all the way down. If an area seems to have a coat too thick, go over to spread the paint out again. Throughout the job, keep the roller covered in paint and regularly dip in color. Paint with an already painted surface facing the open portion of the roller frame.
10. Give yourself a break
Painting is an exhausting job that is why resting is last but not least among the DIY painting tips. Don’t worry, if you find you need to quit for the night. Instead of washing all of your brushes and rollers, tightly wrap them in a cling wrap to make sure that no air gets in. Inside your refrigerator, place the covered brushes and rollers to maintain humidity. When you’re up to get back to work, pick up your equipment and let it settle for around 30 minutes before you start back up. It guarantees a pliable and flawless outcome.
If these tips do not make your painting project less overwhelming, visit us at
www.GoldStandardPainting.com or call us for help at 651-336-7876.